How to Make a Dried Flower Wreath: Complete Guide
Creating a dried flower wreath is a beautiful way to add a touch of nature to any room. The best part? It's pretty easy to make!
This step-by-step guide to making a dried flower wreath makes it fun for anyone. Whether you're crafting to decorate your own space or planning to give it as a thoughtful gift, you'll find that it's not just easy but also incredibly rewarding.
So, let’s dive in and learn how to make a dried flower wreath!
What You’ll Need
Before you get creative, there are a few things you’ll require. Given below is a list of essentials that you need to gather.
|
Item |
Description |
|
Dried Flowers |
Dried flowers of your choice to add texture and color. |
|
Greenery |
Dried leaves or ferns are great for adding fullness and a natural backdrop. |
|
Wreath Base |
Grapevine, foam, or metal ring, depending on your preference. |
|
Floral Wire |
To secure flowers and greenery to the base. |
|
Wire Cutter |
For cutting floral wire and trimming stems. |
|
Hot Glue Gun and Glue |
Optional if you want an additional way of securing elements to the wreath base. |
|
Ribbon or Twine |
This is for hanging the wreath or adding decorative touches. |
Best Blooms for Dried Flower Wreaths
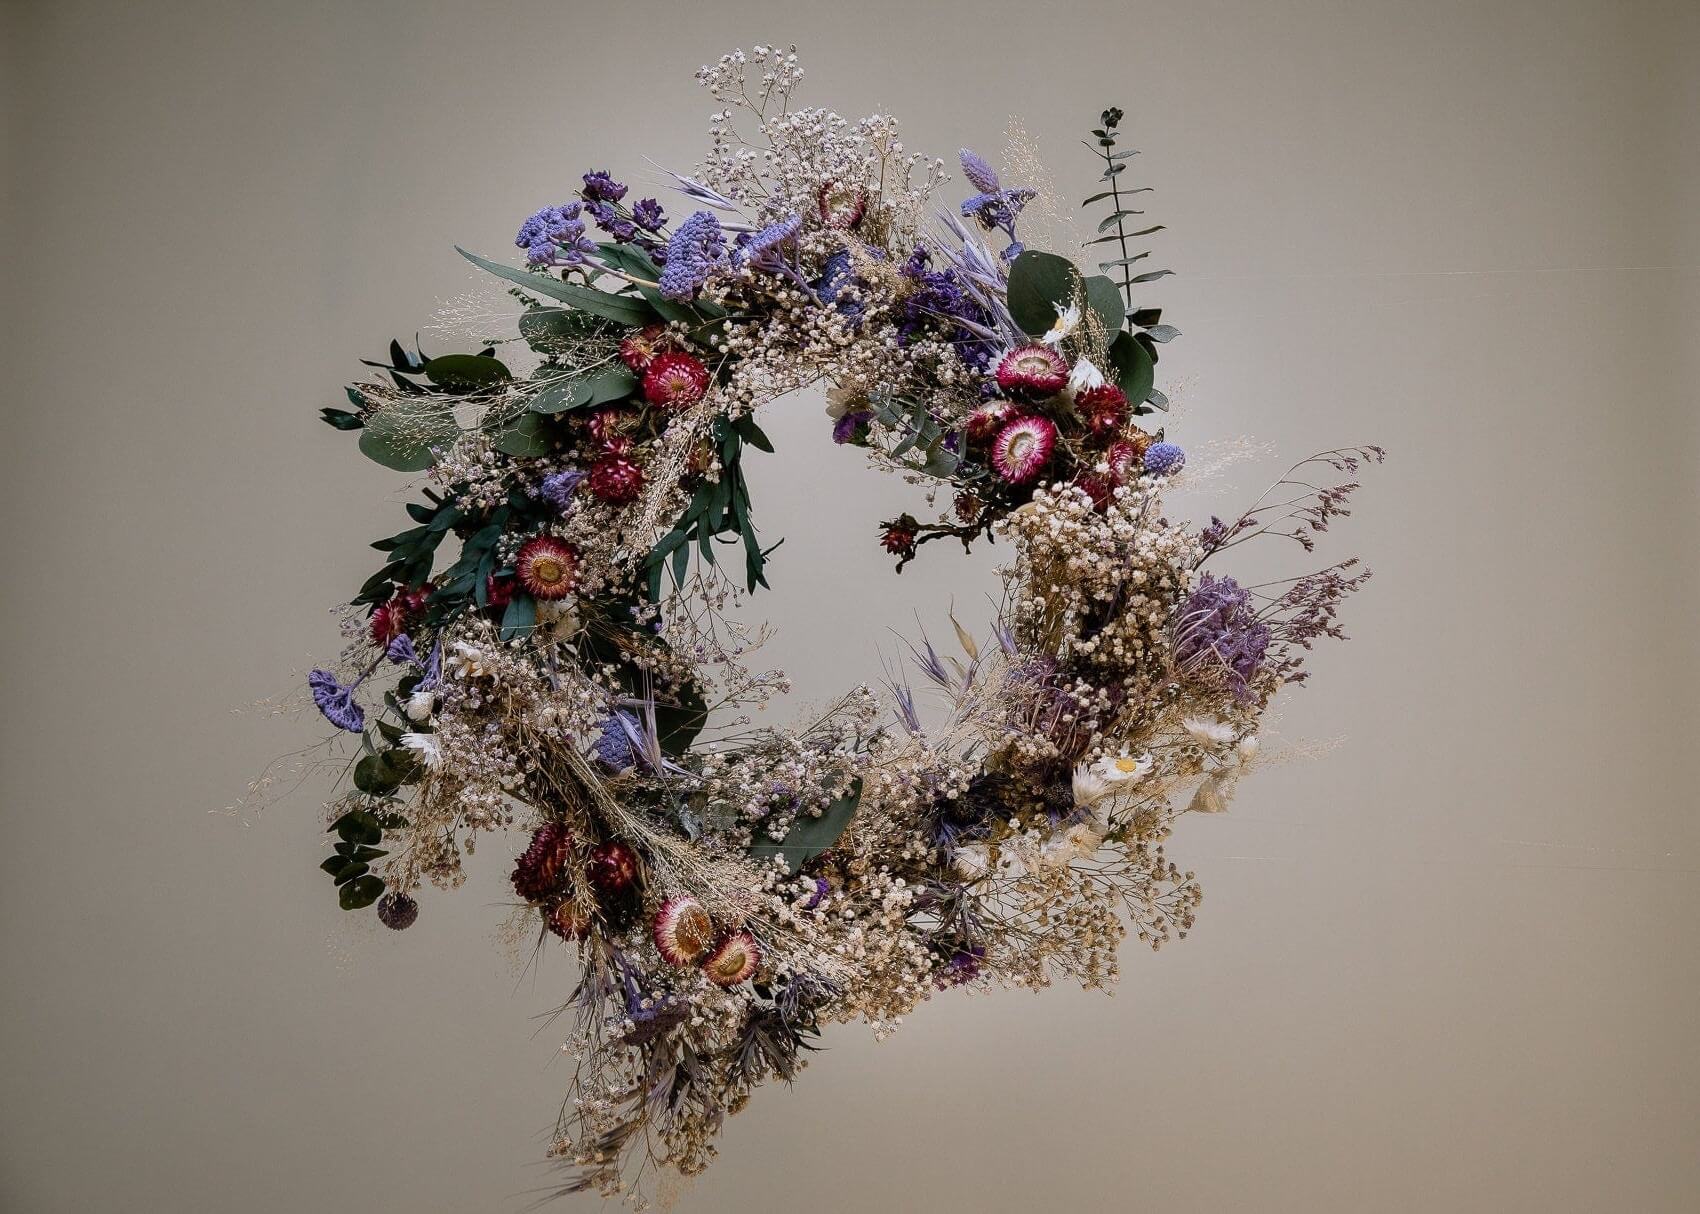
Choosing the right flowers for your wreath will not only make it look beautiful but also ensure its durability.
Here's a list of our favorite blooms to use:
- Lavender: It adds a beautiful aroma and has a vivid violet color that remains vibrant even when dried.
- Roses: Their classic beauty is unmatched. Plus, their smaller varieties integrate well into wreaths, maintaining their rich colors as they dry.
- Hydrangea: With its shades softening to lovely pastels, Hydrangea provides volume and subtle elegance to your design.
- Statice: Excellent for filling in spaces, statice also maintains its color well, ensuring your wreath looks full and vibrant over time.
- Strawflower: Known for its vivid hues and papery texture, strawflower adds a dynamic element that seems almost unaffected by drying.
- Baby’s Breath: This infuses a delicate, airy feel that is perfect for softening the look. Also, with its fine, white blooms, it's great for blending other elements together.
- Eucalyptus: Offers a hint of greenery and a subtle scent, enhancing the design with its lovely silver-green leaves.
- Wheat and Dried Grasses: With their natural textures and golden tones, they bring a rustic or autumnal feel to any room.
- Peonies: Even when dried, peonies add a luxurious and soft element, contributing to the wreath's aesthetic and richness.
- Wildflowers: They introduce a range of shapes, sizes, and colors, giving the wreath a beautiful natural feel.
A Step-By-Step Guide to Creating Your Dried Flower Wreath
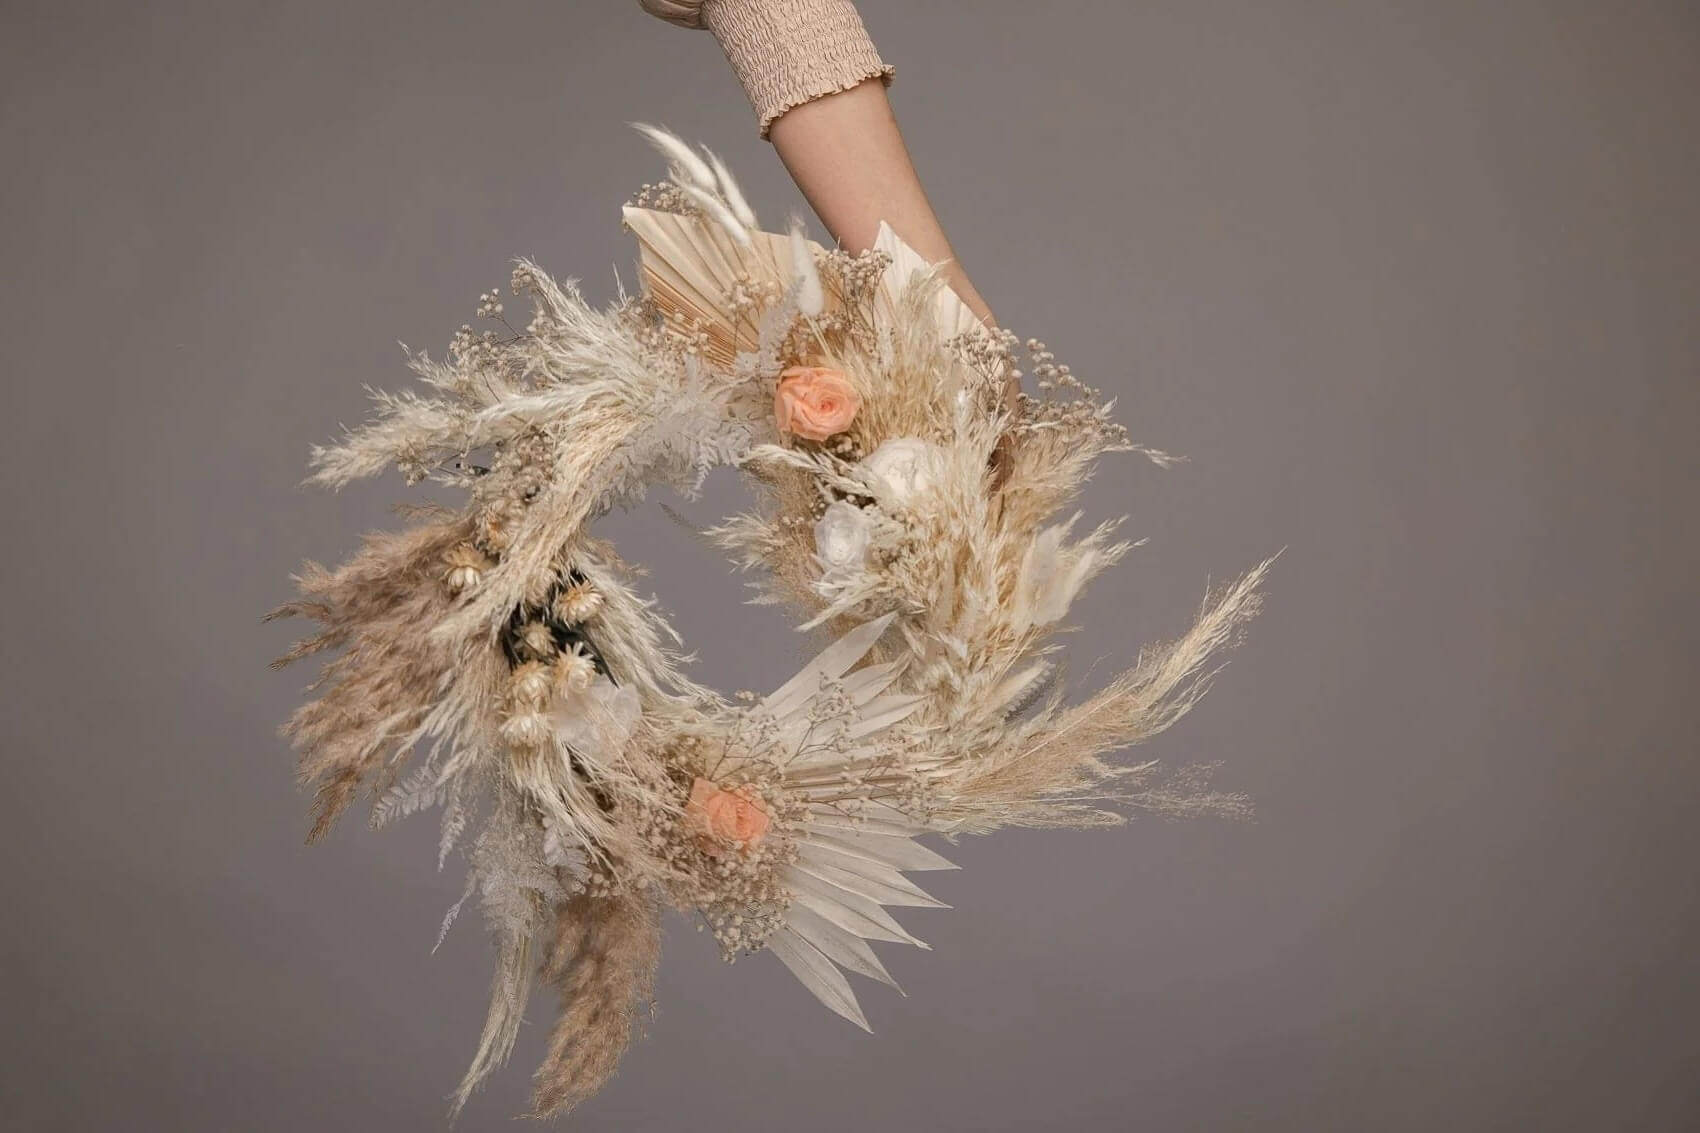
Whether you’re a seasoned crafter or a first-time maker, this guide will walk you through each step with clear instructions, ensuring your wreath-making process is as enjoyable as it is rewarding.
Now, let's create something beautiful.
Step 1: Establish Your Base With Greenery
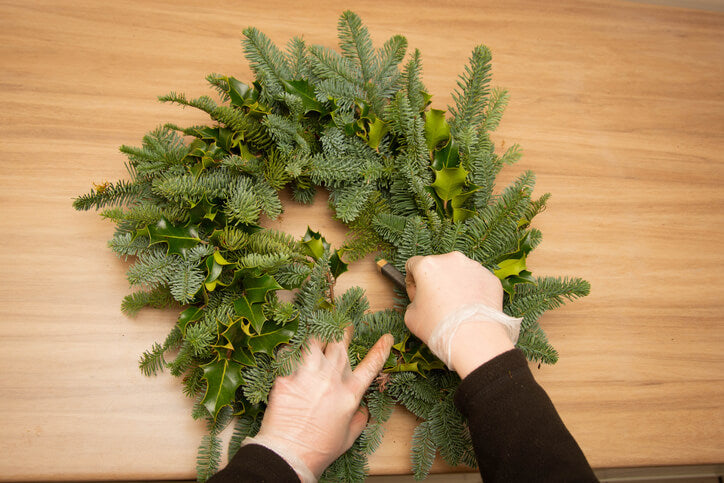
Starting with greenery lays down the foundation of your wreath, setting the stage for your floral arrangement. It provides a full, lush background that enhances the appearance of your dried flowers.
How to Do It: Arrange your greenery around the wreath base. For grapevine bases, gently tuck the stems into the vines. For foam or metal bases, secure the greenery with floral wire or glue, ensuring even distribution for a balanced look.
Step 2: Place Your Large Focal Flowers
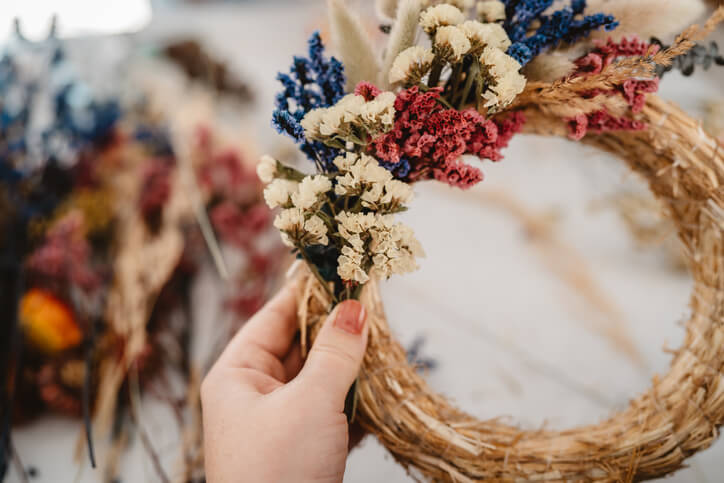
Start with large flowers, as they act as the main attractions of your design. They draw the eye and dictate the wreath’s color scheme and mood.
How to Do It: Choose spots for your largest blooms and space them out evenly. Securely attach each flower to the base, considering the design’s overall symmetry and aesthetic appeal.
Step 3: Integrate Smaller Flowers and Details
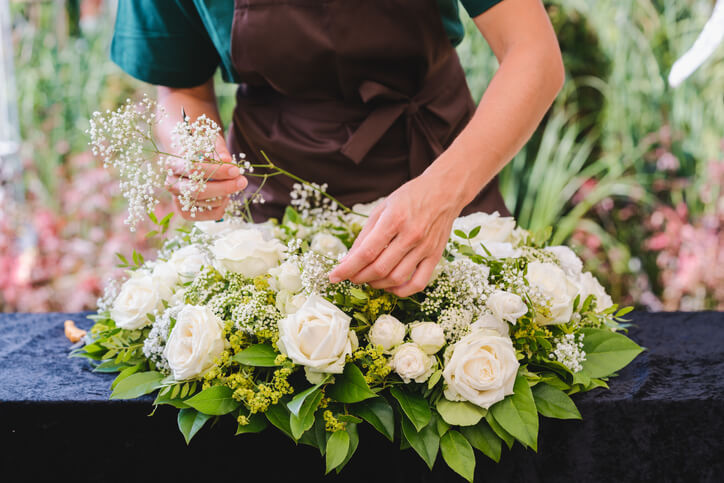
Smaller flowers fill in gaps and add complexity to your wreath, creating depth and texture that make the design more interesting and dynamic.
How to Do It: Fill the spaces between your large flowers with smaller blooms and interesting textures. Play with different heights and depths to add dimension to your wreath. Attach each element securely, balancing color and form as you go.
Step 4: Review and Adjust Your Arrangement
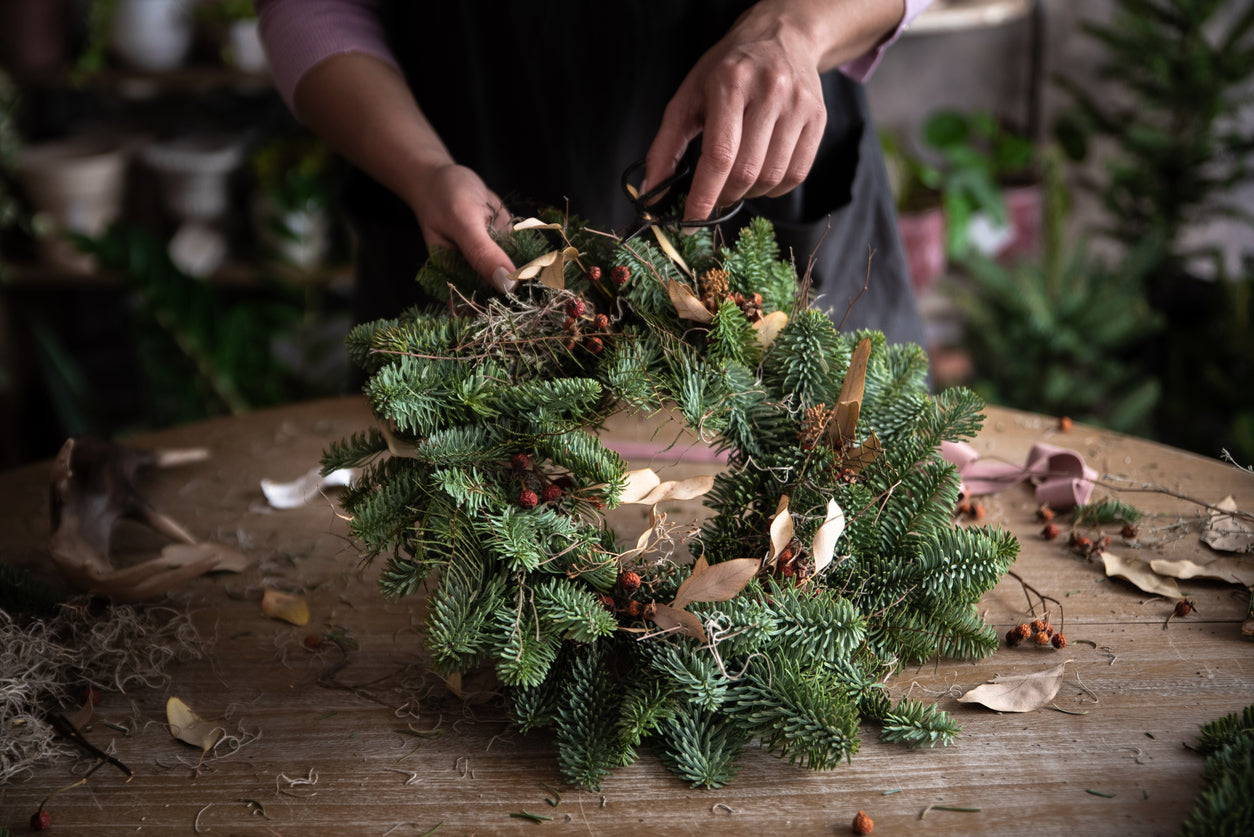
Taking a step back to assess your work allows you to spot any imbalances or gaps, ensuring your wreath looks cohesive and complete.
How to Do It: Look at your wreath from different angles. Make any necessary adjustments by adding more flowers, rearranging elements, or trimming excess foliage to refine the overall shape and design.
Step 5: Add Personal Touches

Personal touches make your wreath uniquely yours. This step is your opportunity to add elements that reflect your personal style or the festivities of the season.
How to Do It: Consider incorporating elements like ribbon, twine, or special trinkets. Attach these finishing touches where they complement the design, using them to highlight your wreath’s best features.
Step 6: Prepare for Display
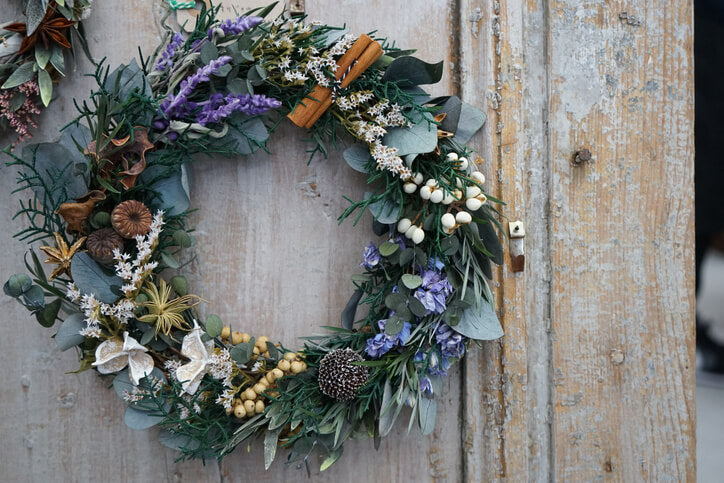
Properly preparing your wreath for display ensures it can be enjoyed to its fullest, enhancing your home with its natural beauty.
How to Do It: Create a loop or bow with ribbon or twine at the top of your wreath for easy hanging. Choose a spot that shows off your arrangement while protecting it from direct sunlight and harsh elements.
Dried Floral Wreath Care: Ensuring Longevity
Wondering how long do dried flowers last? Typically, they can last between one and three years, but the good news is, with the right care, you can extend their longevity even further.
Here are our top tips for how to care for dried flowers, maximizing their beauty and lifespan:
Avoid Direct Sunlight
Direct sunlight can fade the vibrant colors of your dried flowers quickly, making them look dull and aged.
What to Do: Hang your wreath in a spot that gets indirect light or is shaded. If you want to display it outdoors, choose a covered area that doesn't receive direct sunlight.
Keep Away From Moisture
Moisture is the enemy of dried flowers, as it can cause them to become limp, discolored, or even moldy.
What to Do: Ensure your wreath is displayed in a dry environment. Avoid hanging it in areas prone to dampness, like bathrooms or uncovered outdoor spaces.
Dust Gently
Dust can accumulate on your wreath over time, making it look less vibrant and potentially harming the delicate flowers.
What to Do: Use a soft brush, a hairdryer on a cool, low setting, or a feather duster to gently remove dust from the wreath. Always dust lightly to avoid damaging the flowers.
Store Properly
Proper storage protects your wreath from dust, pests, and damage when it’s not being displayed.
What to Do: If you rotate your decor seasonally, store your wreath in a dry, cool place. A cardboard box works well for protection. Also, consider wrapping the wreath in tissue paper or placing it in a large bag to keep dust away. Avoid plastic bags, as they can trap moisture.
Handle With Care
As dried flowers are delicate, they can break if handled too roughly.
What to Do: When moving or adjusting your wreath, handle it by the more substantial parts of the base rather than the flowers themselves. Be gentle to avoid shedding petals or breaking stems.
Revive With Care
Sometimes, despite your best efforts, a few flowers may lose their luster or become damaged.
What to Do: You can replace individual flowers if they become too faded or damaged. Carefully remove the old flower and insert a new one in its place, securing it as you did when originally making the wreath.
Embrace Nature's Beauty With Hidden Botanics

At Hidden Botanics, we understand the beauty of bringing nature into your home. Specializing in exquisite dried and artificial flower arrangements, we offer you two wonderful paths: select from our vast range of premium dried flowers to create your own dried flower wreath or let our expert team design a custom wreath just for you.
Whether you're drawn to the hands-on experience of DIY or you prefer the convenience of a ready-made bespoke design, we're here to support your vision. Our collection is filled with gorgeous dried blooms, from wildflowers to pampas grass and roses – we've got something for everyone. As the seasons change, consider creating or commissioning wreaths for occasions like Easter and Christmas to bring seasonal cheer to your home.
Plus, our commitment to sourcing flowers from Turkey is deeply rooted in sustainability. We support local farmers and contribute to sustainable farming practices. This approach ensures that every wreath not only adds beauty to your space but also is kind to Mother Nature.
Interested? Shop dried flowers decor today and discover how Hidden Botanics can help you create a stunning wreath. With our commitment to quality, variety, and personalized service, we help you bring the natural beauty and timeless charm of dried flowers into your space.
Final Thoughts
Learning how to make a dried flower wreath is a rewarding project that adds natural beauty to your space. As it hangs in your home, let it remind you of the simple joys of crafting and the enduring allure of nature. We hope you enjoy your wreath and the unique touch it brings to your surroundings.
Frequently Asked Questions
How do you preserve a dried flower wreath?
To preserve a dried flower wreath, keep it away from direct sunlight, moisture, and extreme temperatures. A light dusting now and then can also help maintain its appearance, ensuring it stays beautiful for years.
How long do dried flower wreaths last outside?
Dried flower wreaths can last outside for a few months, depending on the weather conditions. However, to extend their lifespan, it's best to hang them in a covered area where they're protected from direct sunlight and harsh weather elements.
What is the best base for a dried flower wreath?
The best base for a dried flower wreath is either a grapevine or a metal ring. Grapevine bases offer a natural look and provide spaces to tuck in the flowers, while metal rings serve as a sturdy foundation for creating more structured designs.


